For years, I treated my feet as an afterthought. I’d spend money on fancy hand creams and manicure tools, but my feet got whatever lotion was left over and a nail clipper from the drugstore. Then sandal season would arrive, and I’d panic-scrub my heels until they were raw, wondering why they never looked as polished as my hands.
The turning point came when a friend—a nurse who spends twelve hours a day on her feet—showed me her pedicure kit. It wasn’t fancy. Just a small pouch with a few essential tools. But her feet were soft, her nails perfectly shaped, and she hadn’t visited a salon in years.
“Your hands get attention,” she said. “Your feet get work. They need tools, not leftovers.”
She was right. Here’s everything I’ve learned about why a pedicure kit matters, how to choose one, and how to use it for healthy, beautiful feet.
Why a Pedicure Kit Is Essential?
Let’s be honest: your feet work harder than any other part of your body. They carry your weight, absorb impact with every step, and spend most of their lives confined in shoes. Yet they receive the least care.
A proper pedicure kit isn’t a luxury—it’s maintenance.
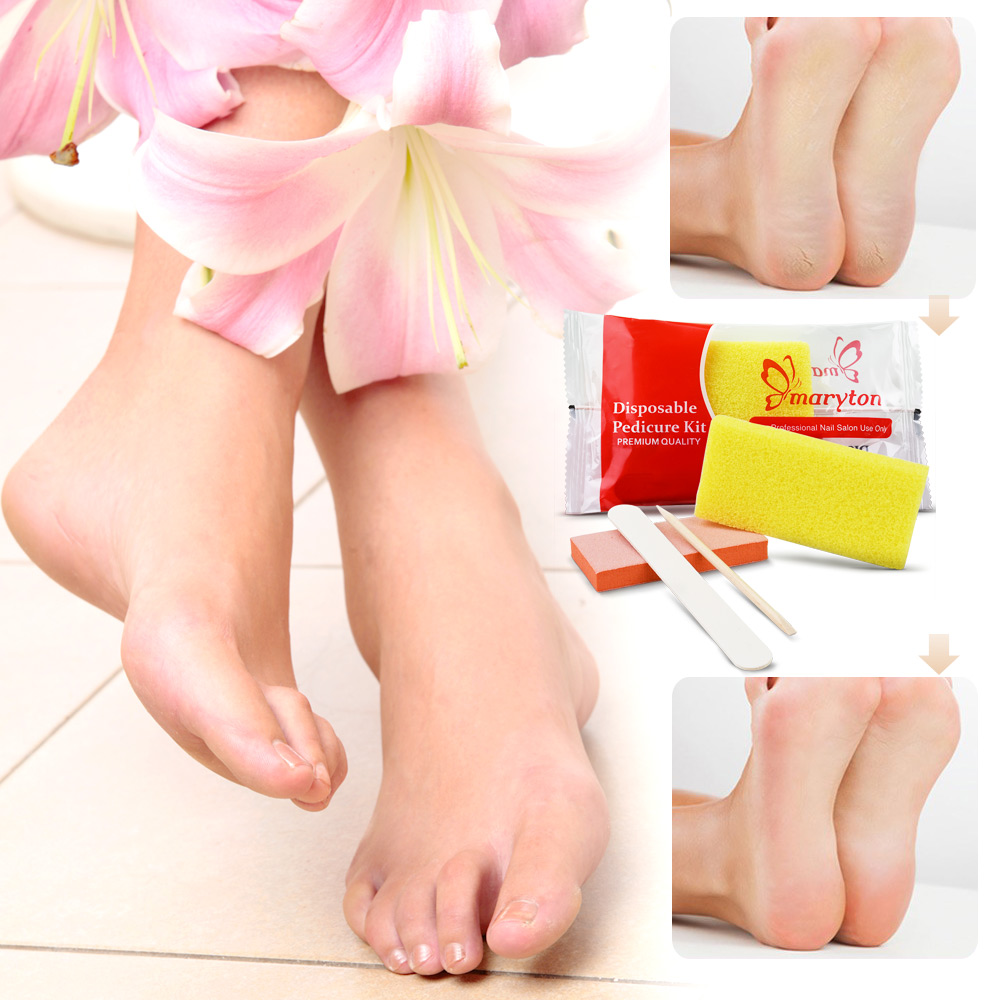
Dead skin accumulates. The soles of your feet have the thickest skin on your body. Without regular exfoliation, dead cells build into hard calluses that can crack and become painful.
Nails need specific care. Toenails grow slower than fingernails and are thicker. They require different tools and techniques to prevent ingrown nails and maintain health.
Dryness leads to problems. Feet have fewer oil glands than hands. They dry out faster and crack deeper. Once cracks form, they’re painful and prone to infection.
Prevention beats repair. Regular care prevents calluses from forming, catches issues early, and keeps feet comfortable for daily life.
How to Choose the Right Pedicure Kit?
Walk into any beauty aisle and you’ll see pedicure kits ranging from $5 to $50. Here’s what actually matters:
What to Look For?
Stainless steel tools. This is non-negotiable. Stainless steel lasts, stays sharp, and can be properly sanitized. Avoid anything labeled “stainless finish” or “silver-tone”—these are often plated and will rust.
Comfortable handles. Tools should feel balanced in your hand. If they’re too light or too heavy, you’ll struggle with control.
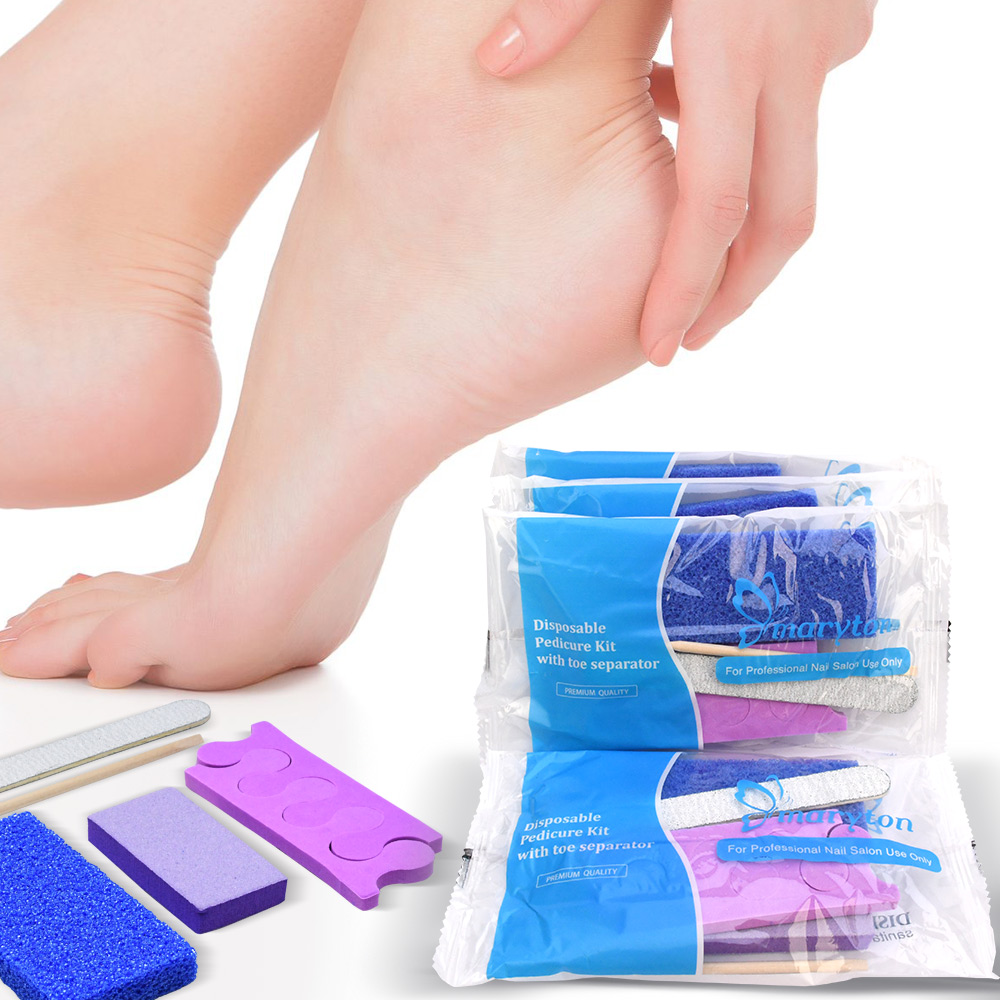
Essential components: A quality kit should include:
- Nail clippers (straight-edge for toenails)
- Cuticle pusher (metal or wooden)
- Cuticle nippers (sharp, for dead skin only)
- Foot file or pumice stone (for exfoliation)
- Nail file (coarse enough for toenails)
- Storage case (keeps tools clean and organized)
What to Avoid
Kits with 15 tools for $8. These are filled with flimsy, useless items. Quality over quantity.
Plastic tools. They don’t stay sharp and can’t be properly sanitized.
Tools with painted coatings. The coating chips over time, leaving rough edges.
Scissors for toenails. Toenails are too thick for standard scissors. Use clippers designed for the job.
Match the Kit to Your Needs
For beginners: Start with a basic stainless steel kit containing clippers, pusher, nippers, and a file. You’ll add as you learn.
For regular maintenance: Look for kits with ergonomic handles and a quality foot file. Consider one with a storage case to keep tools organized.
For foot problems: If you have calluses, ingrown tendencies, or other issues, prioritize kits with professional-grade tools and consider consulting a podiatrist for specific recommendations.
A nail technician once told me: “Your pedicure tools are like kitchen knives. Cheap ones frustrate you and can hurt you. Good ones last decades and make the job easier.”
Pedicure Kit Usage Techniques
Tools alone don’t create results—technique matters.
Step 1: Soak First
Before using any tool, soak your feet in warm water for 10-15 minutes with Epsom salts. This softens skin and nails, making exfoliation and trimming easier and safer.
Step 2: Exfoliate Correctly
Use your foot file or pumice stone on damp, not soaking, skin. Apply light pressure in circular motions on rough areas—heels, the ball of the foot, sides of the big toe.
The golden rule: Pink means stop. If you see pink or feel pain, you’ve reached living tissue. Over-exfoliation creates sore spots and can actually stimulate thicker regrowth.
Step 3: Trim Nails Properly
This is where most people go wrong. Use your straight-edge clippers to cut toenails straight across. Never curve the corners—this invites ingrown toenails. Leave a tiny bit of white; cutting too short invites pain and infection.
File edges smooth with your nail file. File in one direction only to prevent splitting.
Step 4: Tend to Cuticles
Use your cuticle pusher to gently push back softened cuticles. The tool should glide—if you’re forcing, soak longer.
Here’s the critical part: only trim what’s truly dead. If skin lifts easily and is clearly detached, snip it with your nippers. If it’s attached and living, leave it. Cutting living cuticle on toes risks infection and can lead to tougher regrowth.
Step 5: Clean Under Nails
Use the pointed end of your pusher or an orangewood stick to gently remove debris from under the free edge. Be gentle—scratching damages the nail bed.
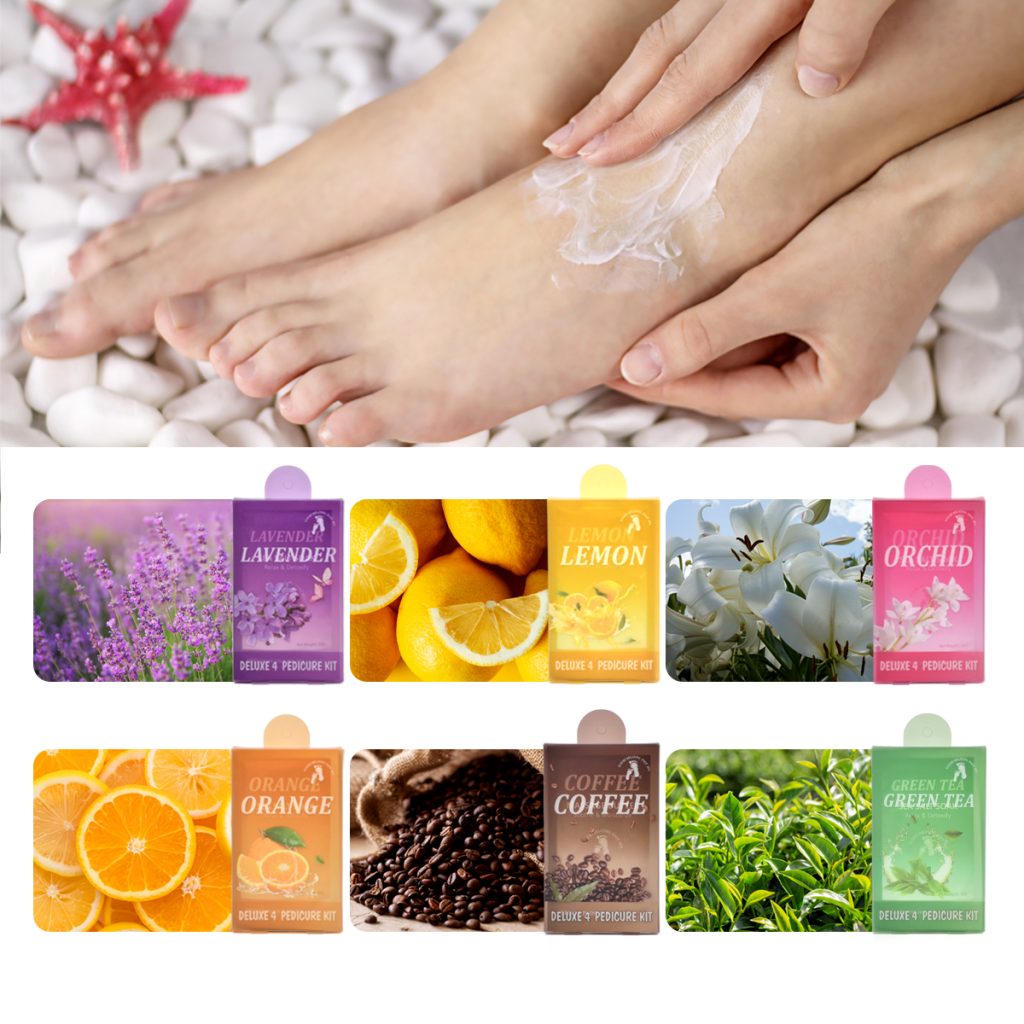
Step 6: Moisturize Generously
This step matters as much as any other. Apply rich foot cream to both feet, massaging thoroughly. Pay extra attention to heels and the balls of your feet. Apply cuticle oil to each toenail.
For intensive treatment: apply an extra-thick layer of cream, put on cotton socks, and sleep in them. Morning feet will be transformed.
How to Maintain Healthy Feet Between Uses?
A pedicure kit is your tool, but daily habits keep feet healthy:
Moisturize every day. After showering, before bed, whenever you think of it. Feet crave moisture.
Wear proper shoes. Shoes that fit well prevent calluses and corns. Rotate pairs so shoes dry completely between wears.
Change socks daily. Moisture management prevents fungal issues.
Inspect your feet regularly. Look for cracks, redness, or changes. Early intervention prevents problems.
Exfoliate weekly. A quick pumice session in the shower prevents buildup from getting out of control.
Keep nails trimmed. Long toenails hit the front of shoes, causing pain and potential damage.
Caring for Your Pedicure Kit
Your tools need maintenance too:
Clean after each use. Wash metal tools with soap and warm water. Dry thoroughly.
Sanitize regularly. Wipe with rubbing alcohol after each use, especially if you’ve worked on calluses or cuticles.
Sharpen or replace when needed. Dull clippers crush nails instead of cutting cleanly. Dull nippers tear skin. Replace when performance declines.
Store properly. Keep tools in a dry case to prevent rust and contamination.
A pedicure kit isn’t an indulgence—it’s essential care for feet that carry you through every day. Quality tools used correctly prevent problems before they start, save money on salon visits, and give you the confidence to wear sandals year-round.
Read also: How to Do a Complete Home Pedicure?